Our motorhome needed to lose some weight.
For much of our adventure so far, Betty & I have travelled on fairly flat land, so the weight of our coach has not been that much of an issue. But in this past year, as our home on wheels laboured up and down some very steep grades in the Rocky Mountains, we knew we had to do something to lighten up. We hope to visit a number of higher elevation U.S. national parks next year, so need to be prepared for the rigours of many steep inclines.
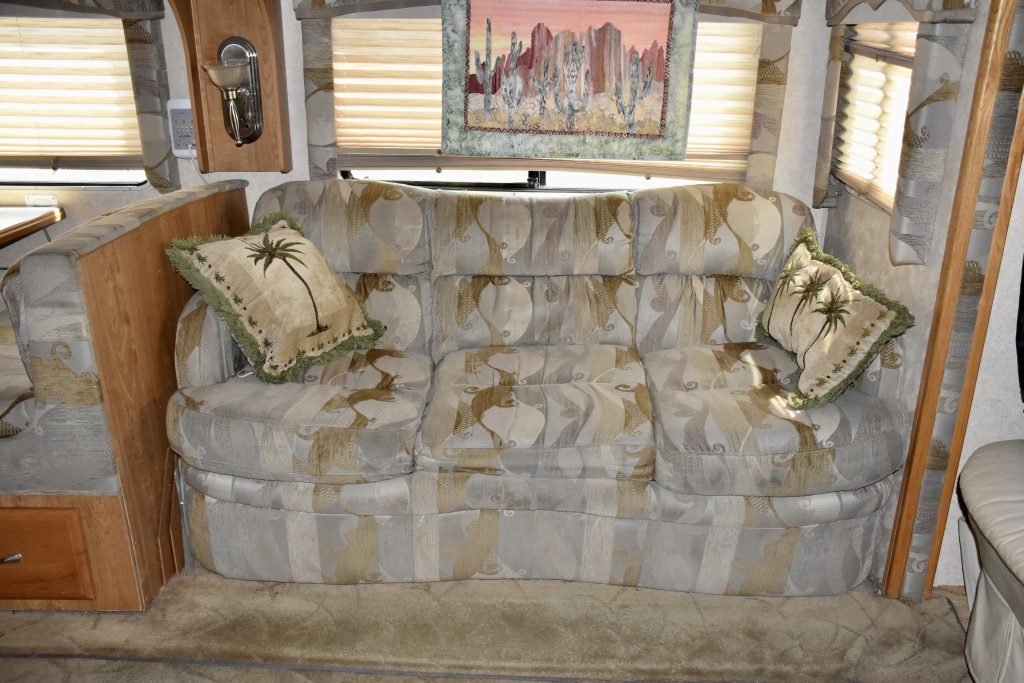
While camped on Vancouver Island last winter, Betty & I talked about what we were carrying with us; what we needed; and what we could live without. One of the largest, heaviest items in our RV was the sofa bed in the living-room, which we rarely used as a bed. Could we live without it, and what were the alternatives?
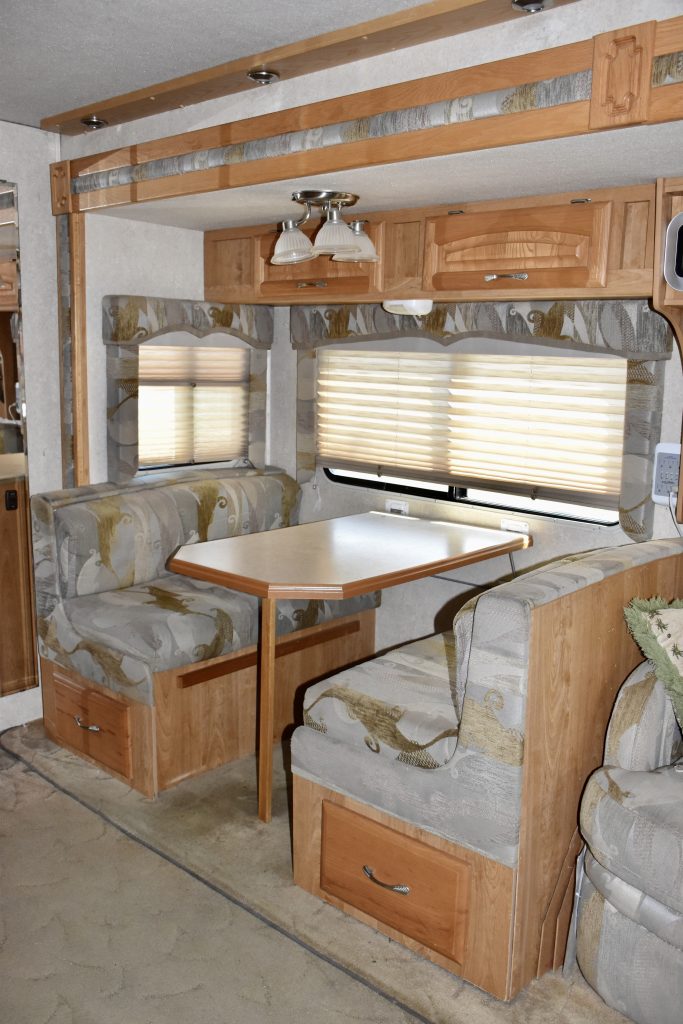
I sketched up some reno plans, including the possibility of putting a couple of Euro recliners in the space occupied by the couch. But shopping on-line brought only confusion. The prices, quality, and ratings seemed all over the place. Like choosing a comfortable pair of shoes, was it possible to order chairs on-line without sitting in them first? How do you send them back if they don’t fit?
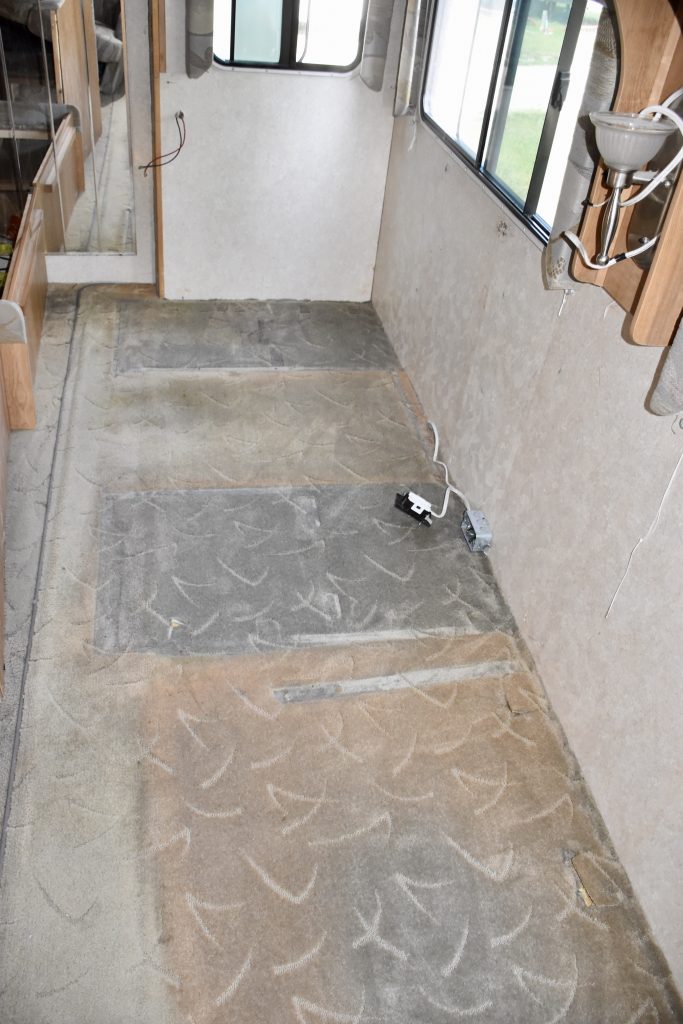
As most know, Betty is a very crafty person and a portion of our bedroom has been taken over by sewing machines, quilts, and all manner of knitting. Could the space occupied by our dinette be reconfigured to facilitate quilting, at the same time as providing office space for both of us?
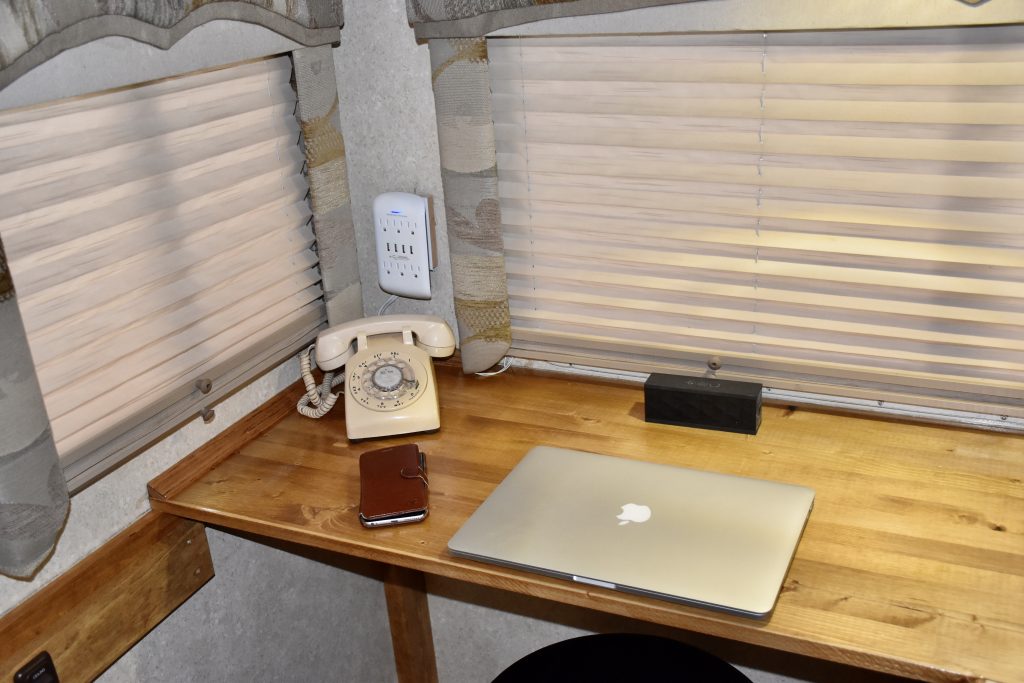
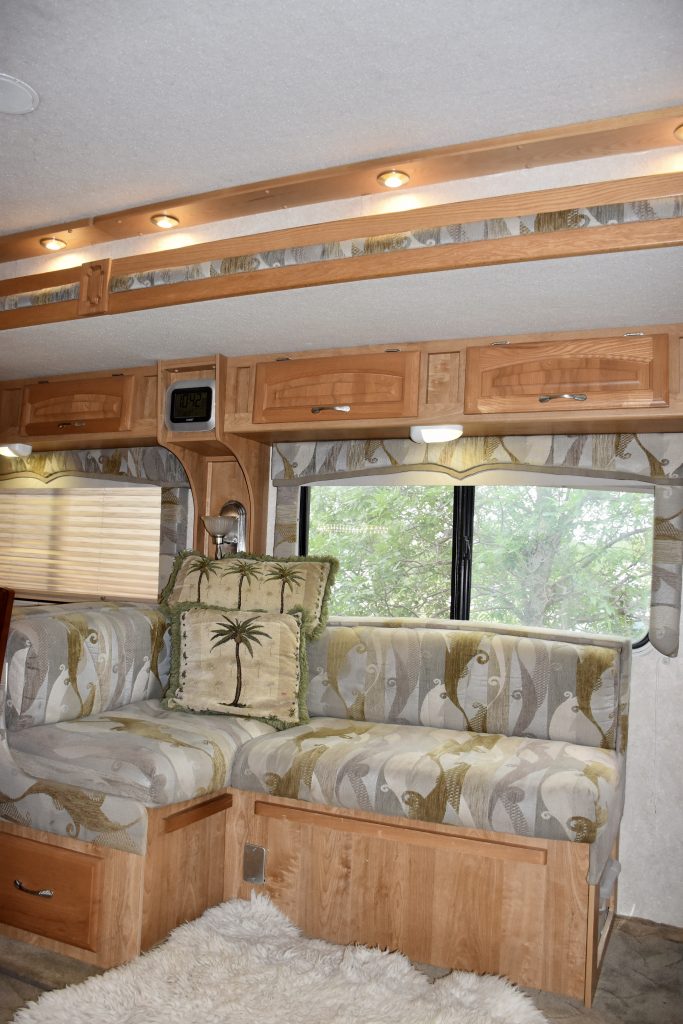
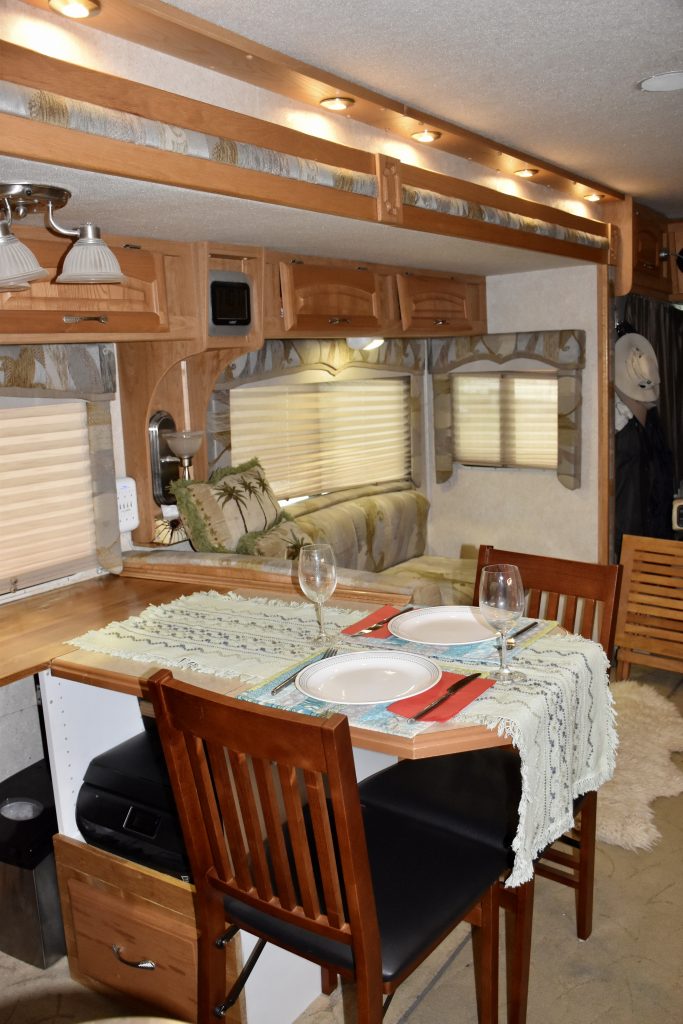
In the end, we decided on a fairly simple, cost-effective reno. The sofa bed was removed and passed over to our next-door neighbours, Brian and Henny, who were able to install the couch in their coach. The dinette benches, with underneath storage, were removed and re-positioned in an L shape where our couch had been.
I picked up one cupboard, a shelf, and some wood trim from Home Depot, and went to work creating a new space. I re-purposed one of the drawers from our dinette, adding it to the cupboard, along with our printer which had previously lived in the back of the bedroom. Btw, the printer’s prior home was so bumpy that when we drove, we always had to move it onto our bed for safety. The new cupboard location should be much more stable, allowing us to leave it in place, with all necessary supplies in easy reach.
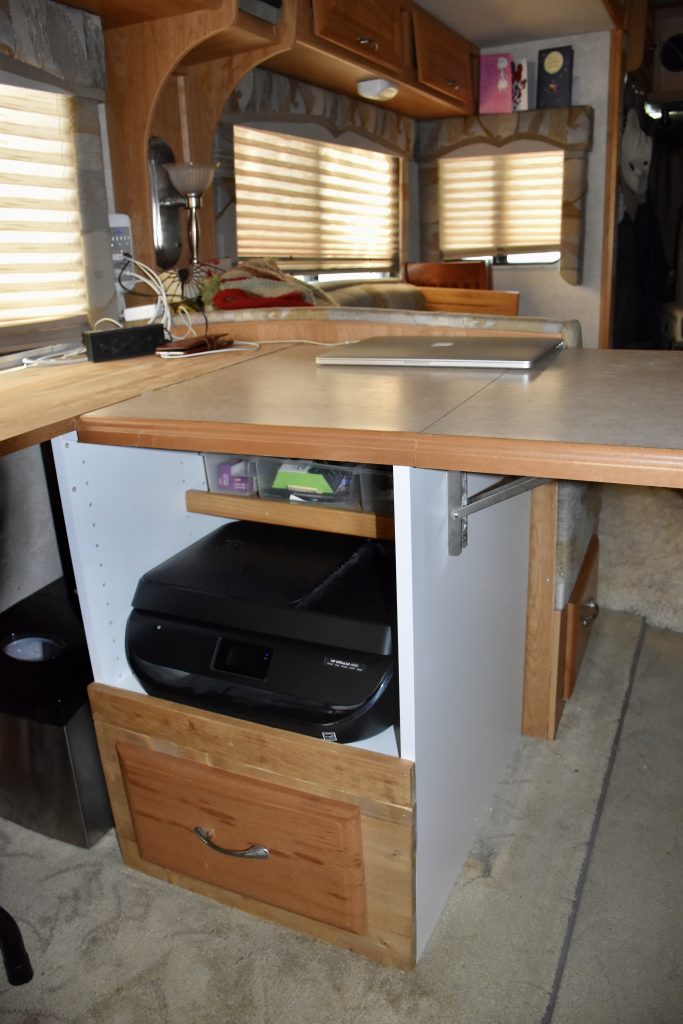
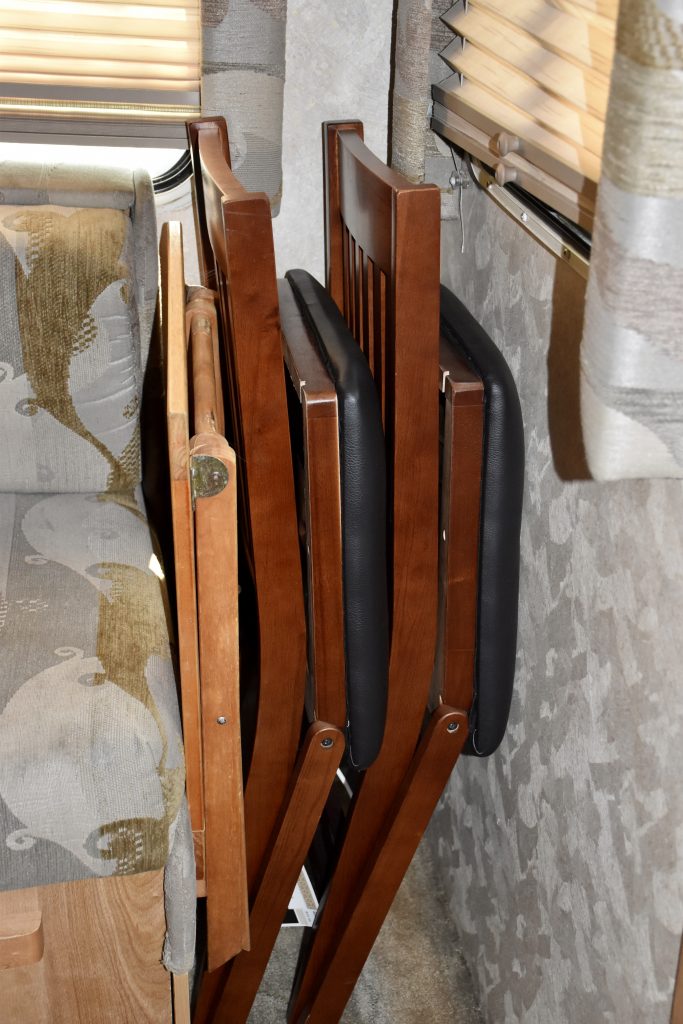
I cut our existing dining table in half, mounting it over the cupboard and attaching it to the new shelf. Adding folding brackets to the other half of the table allows it to be folded down against the cupboard while in transit. I purchased folding dining chairs for use at the table extension. These chairs can now be easily stowed beside the seating in the living room when our home is moving down the road.
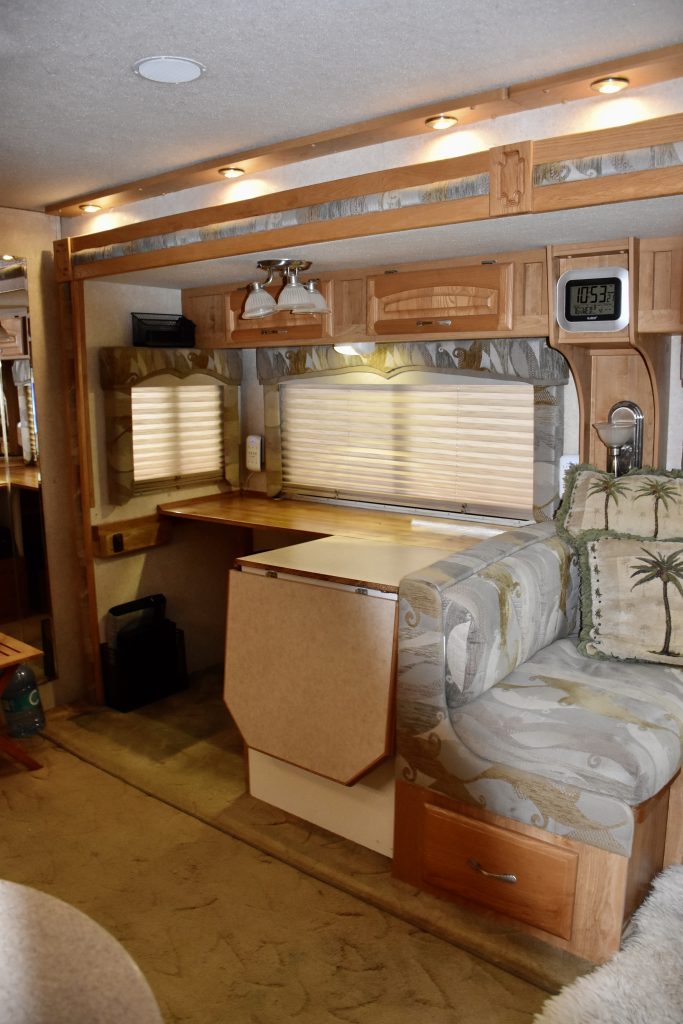
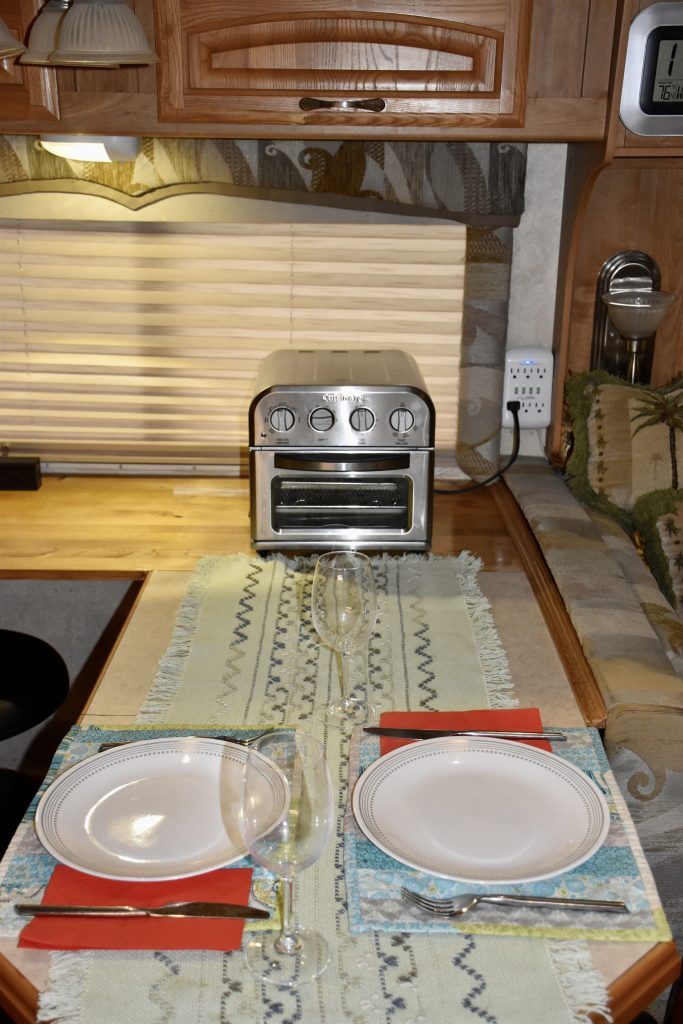
Our kind neighbour, Brian, helped me install another electrical outlet above the new shelf in the office area, and we have added a basket for phone and Ipad storage and charging. The L-shaped work space is large enough to accommodate a new air fryer, which we absolutely love for creating fresh, flavourful meals. (Another blog post could be written just about that great appliance!) Below the counter, in the back corner of the L, is room for our ice maker. This fairly recent addition replaces the ice maker we had removed from our freezer, which we never used and which occupied too much of our limited freezer space.
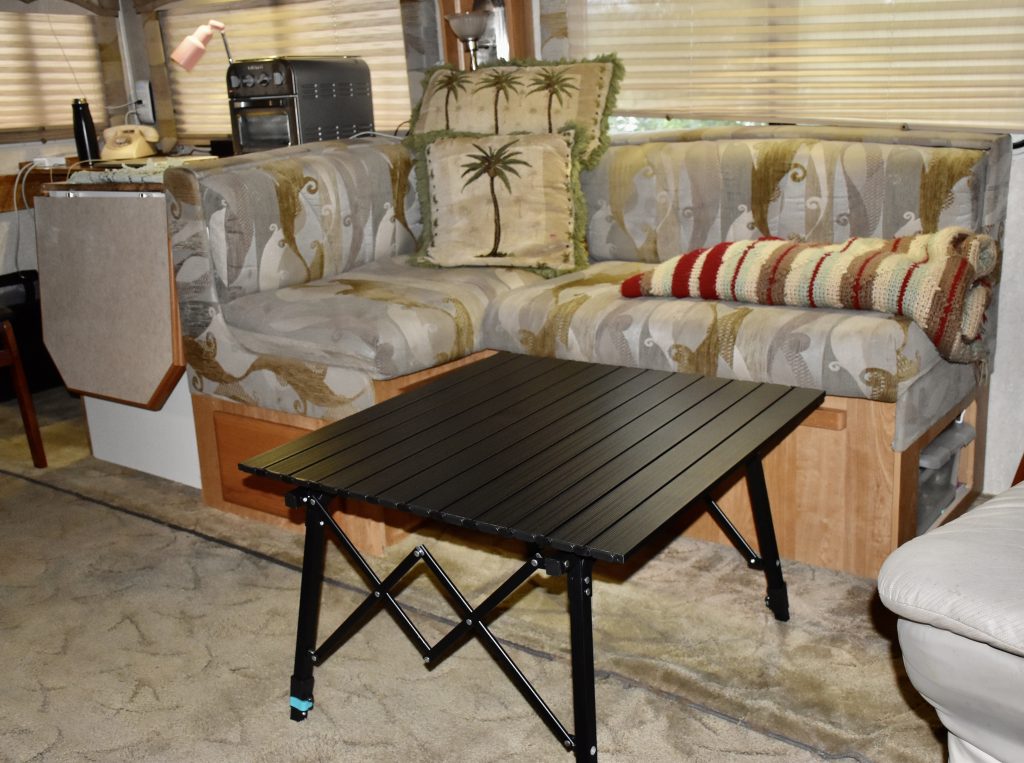
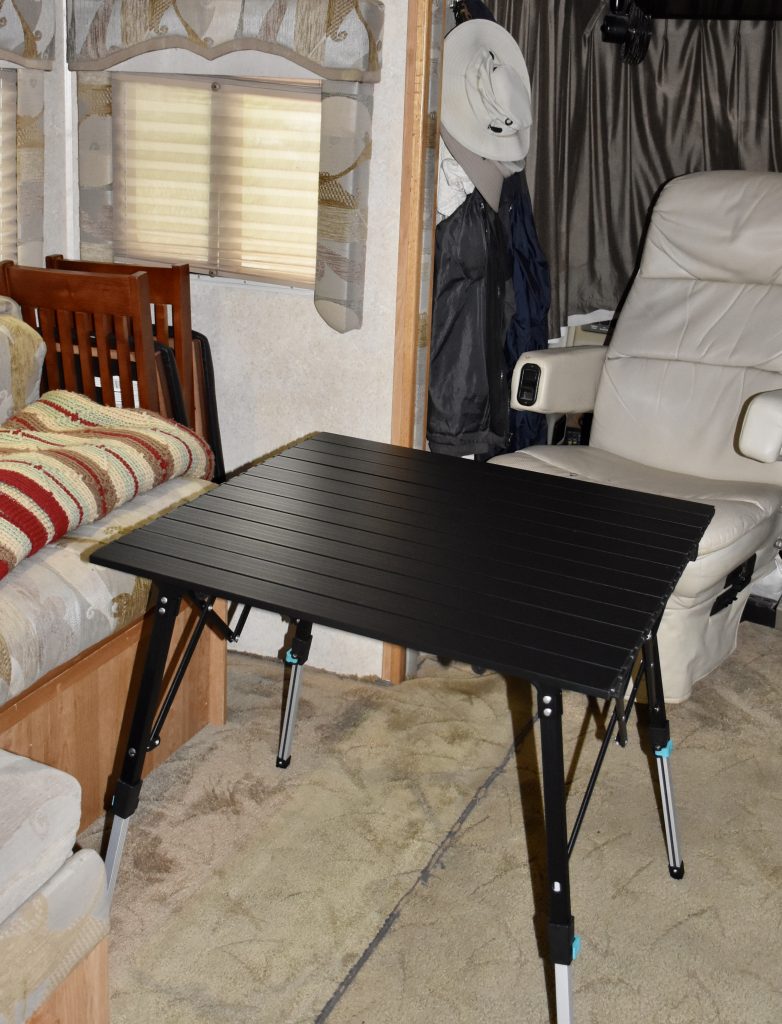
In the living room, we added a 28” square lightweight aluminum coffee table, which can also be raised to dining height. While travelling, it fits neatly in a small bag that will live under one of the dinette seats.
Overall, the reno was extremely cost-effective, and will be easy to change again if we find we don’t like it. We have sent our slide-out in and out a few times, and everything seems to move – or stay in place – as it should. But the main thing is this: Our motorhome lost some weight, and will be in better shape to climb the mountains on the remainder of our overlandish odyssey.
Here’s hoping that all of us can carry a little less excess baggage around on our life journeys!
Cheers!
